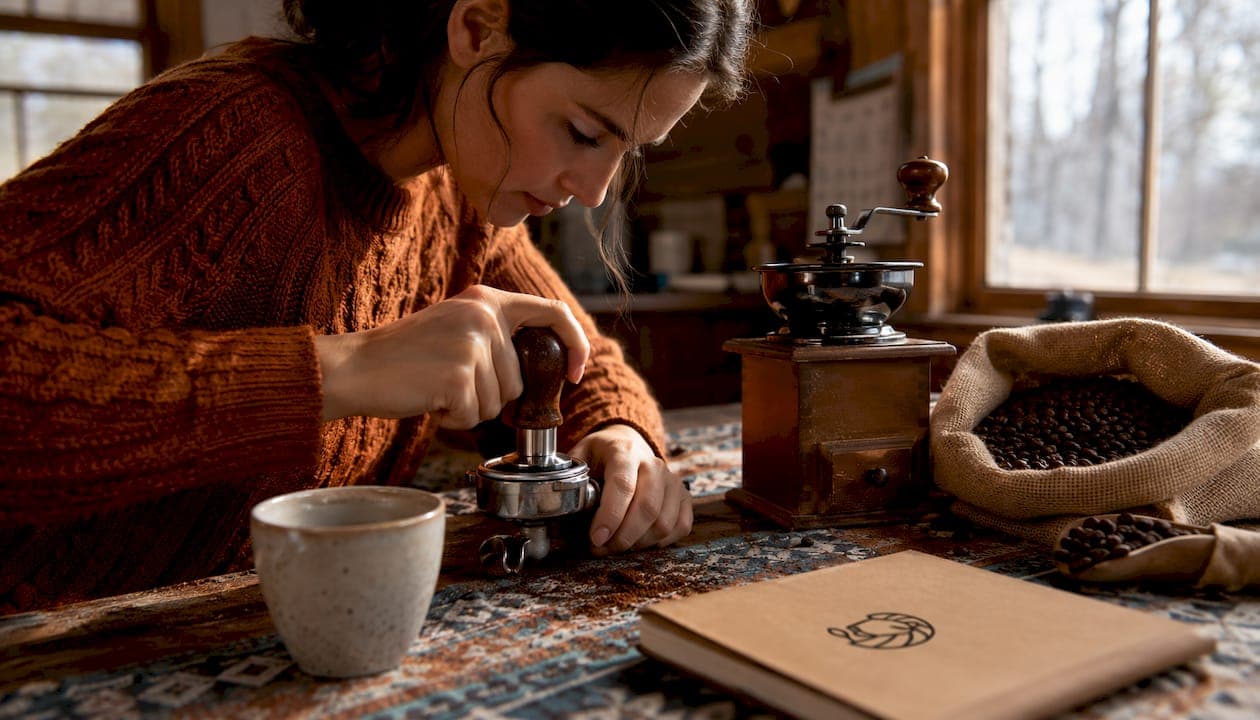
Pull a measured dose of finely ground coffee and extract about double that weight in liquid espresso over roughly half a minute. This brew ratio is widely recommended as the starting point for home espresso across most commercially roasted beans. Brew temperature should be just under boiling, your machine fully preheated, and pump pressure near the standard 9 bars. If the shot fails, three checks cover the vast majority of problems:
- Shot runs under 20 seconds or tastes sour: grind finer or raise brew temperature by 1°C.
- Shot runs over 35 seconds or tastes bitter: grind coarser or lower temperature by 1°C.
- Shot is weak and watery despite correct time: check dose (confirm 18 g), inspect distribution for channeling, and verify beans are fresh.
The single habit that separates improving home baristas from frustrated ones is weighing dose and yield to 0.1 g precision and changing only one variable per shot. Minimum kit to run this recipe today: a burr grinder, a digital scale reading to 0.1 g, a tamper matched to your basket, and either a pump espresso machine or a capable alternative.
Table of Contents
- What equipment truly matters for home espresso?
- Which beans should you buy for home espresso?
- How to grind, dose, distribute, and tamp for a consistent puck
- How to dial in your espresso shot by shot
- What pressure and temperature do home machines actually deliver?
- Fast fixes for the most common espresso problems
- How to texture milk for lattes and cappuccinos
- Daily and periodic maintenance for consistent espresso
- Practical buying guidance: grinder first, then machine
- Key Takeaways
- The learning curve is the point
- Go deeper with Lyons Den Publishers
- Useful sources and further reading
What equipment truly matters for home espresso?
The grinder is the most consequential purchase in any home espresso setup, and it is worth spending more on it than on the machine itself. Espresso demands a fine, uniform particle size that blade grinders cannot produce. Blade grinders chop beans into a chaotic mix of powder and coarse chunks, which extracts unevenly and produces shots that are simultaneously bitter and sour. A burr grinder, whether conical or flat, mills coffee into consistent particles that water can flow through predictably.
Two grinders appear frequently in the entry-to-mid market for good reason. The Breville Smart Grinder Pro offers 60 grind settings, a digital timer for dose control, and conical burrs that handle espresso-fine settings reliably. The Baratza Sette uses a unique straight-through grinding path that minimizes retention, which matters for espresso where even a gram of stale grounds in the chute can shift a shot. Both are covered in more detail in the equipment recommendations section below.
Machine types and what to expect from each
- Manual/lever machines: The operator controls pressure by hand. The Flair manual lever press is a well-regarded example at an accessible price. It produces genuine 9-bar espresso with practice, though it requires attention and physical effort on every shot.
- Semi-automatic machines: The most common home category. The pump runs at fixed pressure; the operator controls dose, grind, and yield. Offers the best balance of control and consistency for learning.
- Super-automatic machines: Grind, dose, tamp, and extract automatically. Convenient but limit the feedback loop that teaches you to dial in.
- Pod systems: Consistent and fast, but the sealed pod format removes control over grind, dose, and freshness.
Essential accessories
A tamper sized precisely to your basket diameter (58 mm is the most common standard), a digital scale with 0.1 g resolution, a dosing cup or funnel to transfer grounds cleanly, a knock box, a steaming pitcher for milk drinks, and a WDT (Weiss Distribution Technique) tool or a fine needle to break up clumps before tamping.
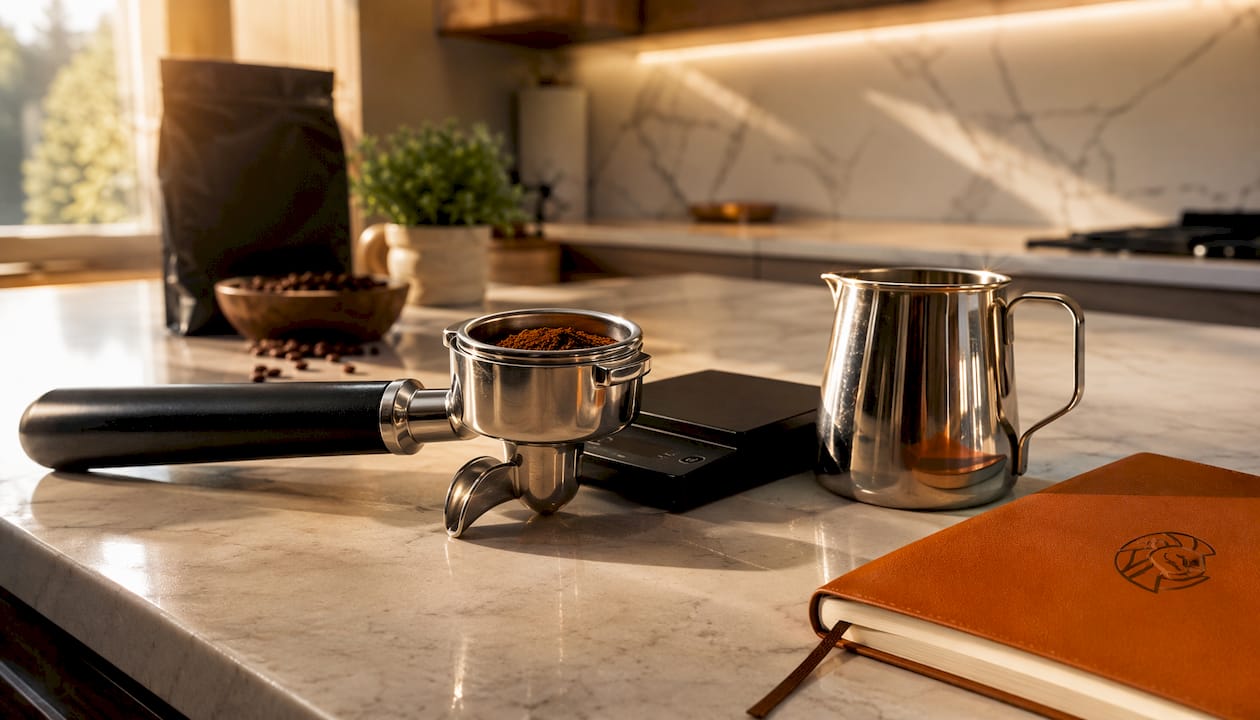
Pro Tip: Before buying a tamper, measure your basket's inner diameter. A tamper even 1 mm undersized leaves a gap at the edge where water can bypass the puck entirely.
Which beans should you buy for home espresso?
Medium to medium-dark roasts are the most forgiving starting point for home espresso. They extract within a wider temperature and grind window, which means small errors in technique produce a drinkable shot rather than an undrinkable one. Light roasts require tighter temperature control and a finer grind to dissolve their denser, less-soluble compounds. They reward the effort with complexity, but they are not the place to start.
Freshness matters more for espresso than for any other brew method. The practical home window is 7–21 days off roast. Beans under a week old are still releasing carbon dioxide rapidly, which causes channeling and an erratic, harsh shot. Beans past three weeks have lost enough volatile aromatics that crema thins noticeably and the shot loses body. Always check the roast date on the bag. If there is no roast date printed, that is a signal worth heeding.
Storage is straightforward: an airtight container, a cool dark location, and whole beans ground immediately before each shot. Buying smaller quantities more frequently beats buying a large bag and watching it age. For readers interested in how processing method affects flavor before roasting, the honey and washed processes each produce distinct cup characteristics that carry through to espresso.
Single-origin light roasts are worth exploring once technique is consistent. Expect to raise brew temperature toward 94–96°C and grind finer than you would for a blend. The roast profile's influence on extraction is a subject worth studying once the fundamentals are solid.
How to grind, dose, distribute, and tamp for a consistent puck
Puck preparation is where most home espresso problems originate, and it is also where the most improvement is available without spending money. A well-prepared puck extracts evenly. A poorly prepared one channels, meaning water finds the path of least resistance and rushes through one section while leaving the rest under-extracted.
Step-by-step puck prep workflow:
- Place the portafilter on the scale and tare to zero.
- Grind 18 g of whole beans directly into the basket, or into a dosing cup and then transfer.
- Tap the portafilter gently on the counter two or three times to settle the grounds.
- Run a WDT tool through the grounds in a spiral motion to break up clumps and level the surface.
- Place the portafilter on a flat, stable surface.
- Position the tamper squarely on the puck, perpendicular to the basket, and press straight down with firm, even pressure. Approximately 15 kg of force is a reasonable target, but level matters far more than exact pounds. An angled tamp creates a thicker section on one side where water will avoid and a thinner section where it will rush through.
- Wipe any loose grounds from the portafilter rim before locking into the grouphead.
Pro Tip: A bottomless (naked) portafilter is one of the most useful diagnostic tools available. It exposes the underside of the puck during extraction, making channeling immediately visible as split streams or off-center gushes. Use it for a few sessions to diagnose technique, then switch back to a spouted portafilter for everyday use.
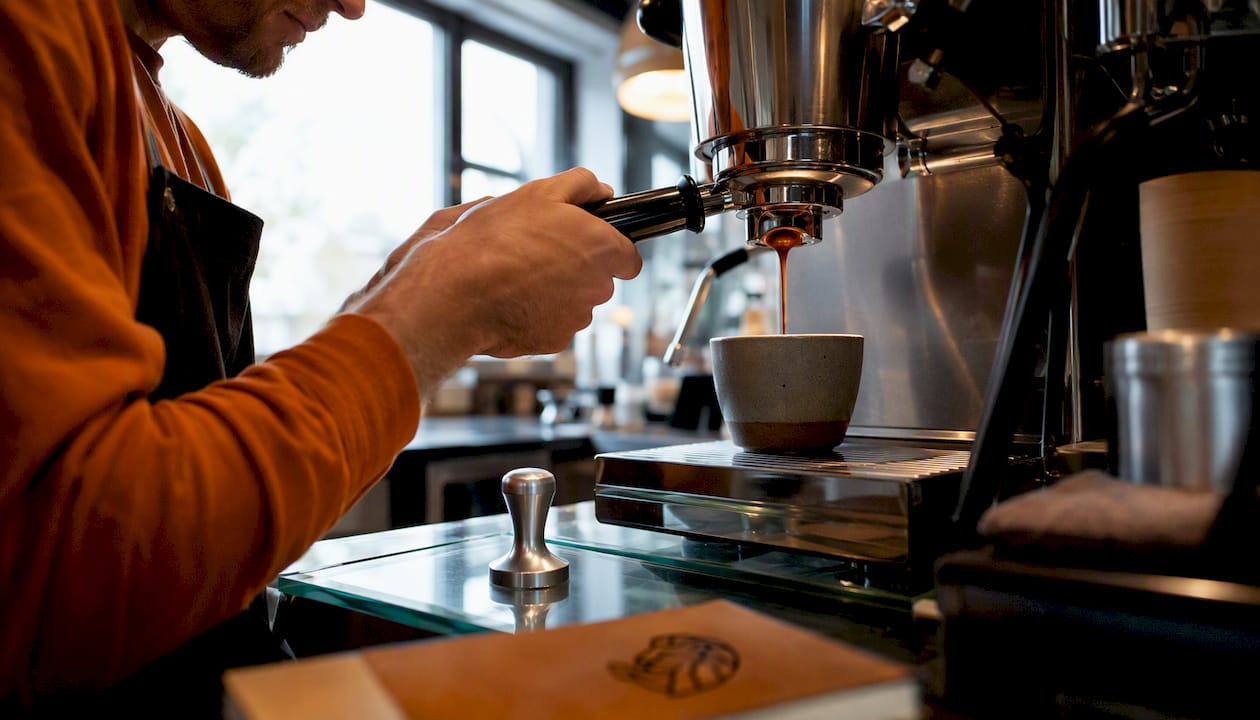
Visual cues during extraction tell you a great deal. A well-prepared puck produces a single, centered stream that begins as a slow drip and transitions to a honey-colored flow. A split stream, a stream that starts off-center, or a sudden gush usually points to uneven distribution or a tilted tamp.
How to dial in your espresso shot by shot
Dialing in is a systematic feedback loop, not a one-time calibration. The goal is to isolate the variable causing the problem, adjust it by a small increment, and pull another shot. Flavor is the ultimate arbiter, not time. Time is a diagnostic gauge. If the shot hits 25–30 seconds but tastes sour, the grind or temperature still needs adjustment.
The baseline recipe to log
| Parameter | Target |
|---|---|
| Dose | 18 g |
| Yield | 36 g |
| Extraction time | 25–30 seconds |
| Brew temperature | 93°C (199°F) |
| Ratio | 1:2 |
Log dose, yield, time, and tasting notes for every shot. A simple notebook works. The record makes patterns visible across sessions and prevents the common mistake of repeating the same failed adjustment.
The single-variable rule
Change only grind size, dose, or temperature between shots. Never adjust two variables simultaneously. If grind and dose both change, there is no way to know which one moved the shot in the right direction.
The dial-in loop
- Pull the baseline shot and record time and yield.
- If the shot runs faster than 22 seconds, grind finer by one or two notches.
- If the shot runs slower than 30 seconds, grind coarser by one or two notches.
- If time is within the window but the shot tastes sour, raise temperature by 1°C or grind slightly finer.
- If time is within the window but the shot tastes bitter, lower temperature by 1°C or grind slightly coarser.
- Repeat until the shot is balanced: sweet, mildly acidic, full-bodied, with no harsh edges.
For a broader reference on how dose, yield, and time interact across different roast levels, the coffee extraction chart at Lyons Den Publishers provides a practical visual framework.
Most home baristas pull their first genuinely balanced shot within 15–30 attempts when they follow a disciplined, single-variable method and weigh both dose and yield. The first ten shots are calibration data, not failures.
Troubleshooting repeated problems:
- Channeling persists despite careful tamping: check distribution before tamping; use WDT more thoroughly; confirm tamper diameter matches basket.
- Yield is inconsistent shot to shot: confirm dose is weighed, not scooped; check grinder retention and purge a few grams before dosing.
- Crema collapses within 30 seconds: beans may be under seven days off roast (still degassing aggressively) or past three weeks (oils oxidized).
What pressure and temperature do home machines actually deliver?
True espresso requires approximately 9 bars of pressure. That pressure forces water through a tightly packed puck, emulsifying oils and dissolving CO₂ to create the characteristic crema. Moka pots operate at roughly 0.5–2 bars. AeroPress, pressed firmly by hand, reaches perhaps 0.5–1 bar. Neither produces authentic crema or the exact texture of a pulled shot. They produce concentrated, espresso-adjacent coffee that works well in milk drinks, but the physics are different.
Device comparison: pressure and crema potential
| Device type | Typical pressure | Crema potential |
|---|---|---|
| Pump espresso machine | ~9 bars (effective at puck) | Full crema, stable |
| Manual lever (e.g., Flair) | ~7–9 bars (operator-controlled) | Full crema with good technique |
| Moka pot | ~0.5–2 bars | Minimal to none |
| AeroPress | ~0.5–1 bar | None |
| Pod machine | ~9–15 bars (pump) | Moderate crema |
Home machines frequently advertise 15 bars at the pump. The figure that matters is the effective pressure at the puck, which is typically 9 bars on well-designed consumer machines. Many modern machines include pre-infusion, a low-pressure soak at 2–3 bars before ramping to full extraction pressure. Pre-infusion wets the puck evenly and reduces channeling, which is particularly useful for lighter roasts.
Brew temperature for most espresso falls in the 92–94°C (198–201°F) range. Lower temperatures tend to preserve acidity and delicate aromatics; higher temperatures extract more body and bittersweet notes. Machines without PID temperature control drift more, especially single-boiler models. Practical workarounds: allow a longer warm-up (20 minutes minimum), flush the grouphead for 3–5 seconds before locking in the portafilter, and use slightly darker roasts that tolerate a wider temperature window.
Pro Tip: On machines without a PID, the temperature at the puck drops 2–3°C when a cold portafilter is locked in. Keep the portafilter locked into the grouphead during warm-up to stabilize it.
Fast fixes for the most common espresso problems
Espresso problems fall into a small number of categories. Identifying the symptom correctly points directly to the fix.
- Shot too fast, tastes sour or sharp (under 20 seconds): grind is too coarse. Adjust finer by one or two notches and repull. If the machine has temperature control, also consider raising it by 1°C.
- Shot too slow, tastes bitter or harsh (over 35 seconds): grind is too fine. Adjust coarser. Check that dose has not crept above 18–19 g.
- Weak body, watery texture: dose too low, grind too coarse, or channeling. Confirm 18 g dose, check distribution, and inspect the puck after extraction for cracks or holes.
- Channeling (split streams, off-center flow): uneven distribution or tilted tamp. Channeling is the most common source of inconsistent home shots and almost always traces back to puck prep. Redistribute more carefully, tamp level, and purge any loose grounds from the basket rim before locking in.
- Low or absent crema: check roast date first. Beans past three weeks off roast produce thin crema regardless of technique. Beans under seven days off roast may produce excessive, unstable crema that collapses quickly.
- Crema is pale yellow or gray: stale beans or grind too coarse. A rich, reddish-brown crema indicates fresh beans and correct extraction.
- Inconsistent shots back to back: dose, grind setting, or tamp pressure is varying between pulls. Weigh every dose, confirm grinder setting has not shifted, and standardize tamp technique.
When a problem persists across multiple adjustments, isolate whether the cause is the bean (check roast date and roast level), technique (grind, dose, distribution, tamp), or machine (temperature instability, pressure inconsistency, dirty grouphead). Cleaning the grouphead and backflushing often resolves problems that look like grind or dose issues.
How to texture milk for lattes and cappuccinos
Milk texturing is a separate skill from espresso extraction, but the two combine to produce the drinks most home baristas actually want. The goal is microfoam: milk heated to 140–150°F (60–65°C) with a texture similar to wet paint, smooth and glossy with no visible bubbles.
Pitcher selection: A 12 oz (350 ml) pitcher works for single drinks; a 20 oz (600 ml) pitcher suits two drinks at once. Stainless steel is standard. Whole milk produces the most stable microfoam because fat content supports the foam structure. Lower-fat milks and plant-based alternatives (oat milk performs best among non-dairy options) require slightly different technique.
Steaming routine:
- Purge the steam wand for one second to clear condensed water.
- Fill the pitcher to just below the spout.
- Submerge the wand tip just below the milk surface, slightly off-center to create a whirlpool.
- Open the steam valve fully. For the first 3–5 seconds, lower the pitcher slightly so the tip sits at the surface, introducing air (the "stretching" phase). You should hear a soft hissing sound, not a loud screech.
- Once the milk has expanded by about 20–30%, raise the pitcher so the tip is fully submerged and let the whirlpool continue to integrate the foam.
- Stop when the pitcher is too hot to hold comfortably, or when a thermometer reads 150°F (65°C).
- Wipe the wand immediately with a damp cloth, then purge again to clear milk from inside the tip.
Common faults: Large bubbles mean the tip was too far above the surface during stretching. Overheated milk (above 160°F / 71°C) loses sweetness and develops a flat, cooked flavor. Both are corrected by adjusting tip position and monitoring temperature more closely.
Pro Tip: Practice the stretching phase with cold water first. The sound and feel of correct air introduction are easier to learn without the pressure of timing a shot simultaneously.
Daily and periodic maintenance for consistent espresso
A clean machine extracts consistently. Coffee oils go rancid in the basket, gaskets, and grouphead, and rancid oils add a stale, bitter background note that no amount of grind adjustment will fix.
Daily tasks:
- Wipe the grouphead gasket and shower screen with a damp cloth after each session.
- Purge the steam wand before and after every use.
- Empty the drip tray and knock box before they overflow.
- Rinse the portafilter and basket under hot water after removing the spent puck.
Weekly tasks:
- Backflush the grouphead with a blind basket and a small amount of espresso machine cleaner (if the machine supports backflushing).
- Soak the portafilter basket in hot water with a cleaning tablet to dissolve oil buildup.
- Wipe down the grinder chute and check for retained grounds.
Monthly and periodic tasks:
- Descale according to the manufacturer's schedule, adjusted for local water hardness. Hard water accelerates scale buildup inside the boiler and heat exchanger, which reduces temperature stability and eventually damages components.
- Inspect grinder burrs for wear. Dull burrs produce more fines and less consistent particle size, which shows up as slower shots and muddier flavor.
Water quality deserves specific attention. Distilled water should never be used in an espresso machine; it is too aggressive and can corrode internal components. Filtered water with a total dissolved solids (TDS) level of roughly 75–150 ppm is the practical target. Very hard tap water (above 200 ppm) accelerates scaling significantly. For readers considering reverse osmosis systems, the tradeoffs between mineral removal and remineralization are covered in detail at Lyons Den Publishers's water guide.
Practical buying guidance: grinder first, then machine
The grinder-first rule is not a preference. A mediocre machine paired with an excellent grinder will consistently outperform an excellent machine paired with a mediocre grinder. The grinder determines particle consistency, which determines extraction evenness, which determines flavor. The machine provides pressure and temperature, which matter, but they matter less than what the grinder delivers.
Three budget tiers
Entry level: A manual lever machine like the Flair paired with a capable burr grinder covers the fundamentals at a lower total cost than most semi-automatic setups. The Flair produces genuine 9-bar espresso and teaches pressure control directly. The tradeoff is time and physical effort per shot.
Mid range: The Breville Smart Grinder Pro is a strong grinder choice at this tier. Its 60 grind settings and digital dose timer give the precision espresso requires, and its conical burrs handle the fine end of the range reliably. Paired with a semi-automatic machine, this combination gives full control over every variable.
Mid-to-aspirational: The Baratza Sette addresses a specific problem: grinder retention. Grounds that sit in the chute between shots go stale and contaminate the next dose. The Sette's straight-through path minimizes this, which matters most for single-dose workflows where every gram counts. It is a focused tool for a specific need, and it earns its price for baristas who have already identified retention as a problem.
Shopping tips before you buy
- Burr type: Conical burrs are generally quieter and more forgiving of grind-setting changes. Flat burrs tend to produce a more uniform particle distribution at the cost of more retention and more noise.
- Step resolution: Stepless grinders allow infinite adjustment; stepped grinders move in fixed increments. For espresso, finer step resolution means more precise dialing in.
- Serviceability: Check whether replacement burrs are available and whether the grinder can be disassembled for cleaning without specialized tools. A grinder you can maintain is one that stays accurate longer.
For readers exploring the full range of home brewing techniques beyond espresso, the same grinder-first principle applies across methods.
Key Takeaways
Consistent home espresso comes down to four non-negotiables: a fresh bean in the right roast-age window, a burr grinder capable of espresso-fine settings, a scale that reads to 0.1 g, and the discipline to change only one variable per shot.
| Point | Details |
|---|---|
| Baseline recipe | 18 g dose to 36 g yield in 25–30 seconds at 93°C is the starting point for every adjustment. |
| Grinder first | Spend more on a burr grinder than on the machine; grind consistency determines extraction quality. |
| One variable per shot | Adjust only grind, dose, or temperature between pulls so each change is diagnosable. |
| Bean freshness window | Use beans 7–21 days off roast; outside that window, crema and flavor suffer regardless of technique. |
| Lyons Den Publishers | The espresso resources at Lyons Den Publishers provide structured lessons and deeper technical reading for every stage of the learning curve. |
The learning curve is the point
Home espresso has a reputation for being difficult, and that reputation is partly earned. The variables are real, the margin for error is narrow, and the first dozen shots are usually not worth drinking. What the reputation misses is that the difficulty is front-loaded. Once the baseline recipe is set and the grinder is calibrated to the bean, each subsequent session requires only small adjustments.
The conventional advice is to buy better equipment when shots disappoint, as with considering an Aroma Espresso Bar Franchise Opportunity to expand your coffee business. That advice gets the sequence wrong. Puck preparation and consistent weighing produce more improvement per dollar than any machine upgrade available to a home barista who has not yet mastered the fundamentals. A well-tamped, evenly distributed 18 g dose in a $400 machine will outperform a carelessly prepared puck in a $2,000 machine. The equipment matters, but technique comes first.
Record-keeping is underrated. A shot log with dose, yield, time, grind setting, and a one-line tasting note takes thirty seconds per session and compresses weeks of trial and error into a readable pattern. When a new bag of beans arrives and the shot suddenly runs fast, the log shows exactly where the grind was last calibrated and how far to move it. Without the log, that recalibration is guesswork repeated from scratch.
Treat the first 15–30 shots as calibration rather than pass/fail tests. The goal in that window is not a perfect shot. It is a documented understanding of how your specific grinder, machine, and beans interact. That understanding is what produces consistent espresso over months and years, not a single lucky pull.
Go deeper with Lyons Den Publishers
The fundamentals in this guide will carry most home baristas from their first shot to consistent, café-quality espresso. For readers who want to understand the science behind extraction, water chemistry, and roast development at a deeper level, Lyons Den Publishers offers structured resources built around Keith Lyons's The Complete World of Coffee.
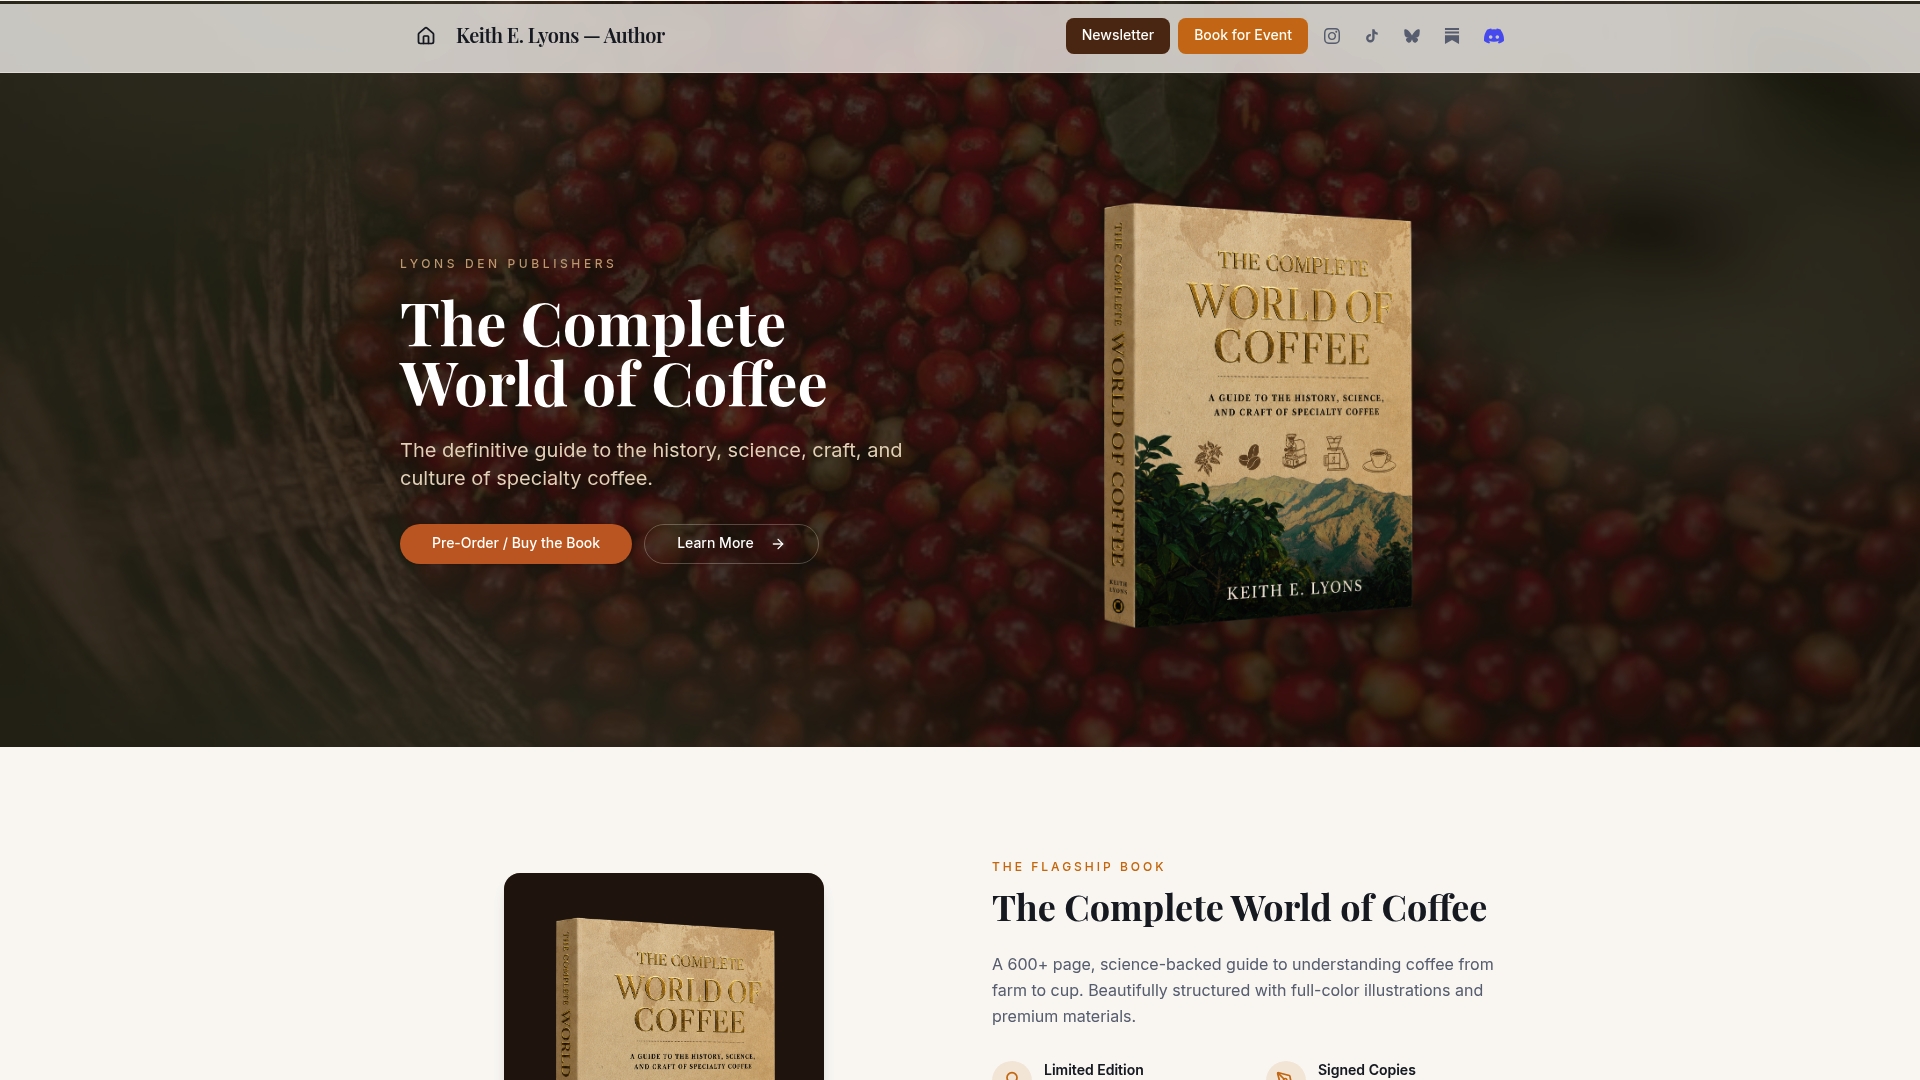
The espresso brewing methods hub covers advanced topics including pressure profiling, pre-infusion techniques, and single-origin dialing-in strategies. The coffee science collection addresses extraction chemistry, water mineral balance, and the physical principles behind crema formation. Both sections are designed for readers who have moved past the basics and want evidence-based answers to the questions that arise after the first month of pulling shots. For readers who want a single comprehensive reference covering every aspect of coffee from cultivation to cup, The Complete World of Coffee is available through the site.
Useful sources and further reading
The following sources informed the method, troubleshooting guidance, and equipment recommendations in this guide. Each is worth consulting for deeper technical detail or to cross-check settings for specific beans or machines.
- Clive Coffee Learn: Practical recipe baselines, the 1:2 ratio standard, and the single-variable dial-in principle. A reliable reference for extraction fundamentals and the role of taste over time in adjustments.
- iCoffee App espresso recipe guide: Concise recipe parameters (18 g, 36 g, 93°C, 25 seconds) with clear explanations of what each number does. Useful for readers who want a compact reference card.
- CoffeeGearHub beginner espresso guide: Covers the 15–30 shot calibration window, concrete troubleshooting rules (time/taste mismatch fixes), and the evidence that puck prep improvement outperforms machine upgrades for beginners.
- Seven Miles: Fresh coffee mistakes to avoid: Explains the 7–21 day roast-age window for espresso and why burr grinders are non-negotiable for consistent particle size.
- 9Barista: Moka pot vs. espresso: Clear technical explanation of why moka pots (0.5–2 bars) cannot produce authentic espresso crema. Useful for readers deciding between machine types.
- Fellow: Beginner's guide to making espresso at home: Covers roast selection, the starter recipe, and variable interaction in accessible language. Good cross-reference for the beans and dialing-in sections.
- Seattle Coffee Gear blog: Supports the case for 0.1 g precision scales and weighing both dose and yield. Practical and equipment-focused.