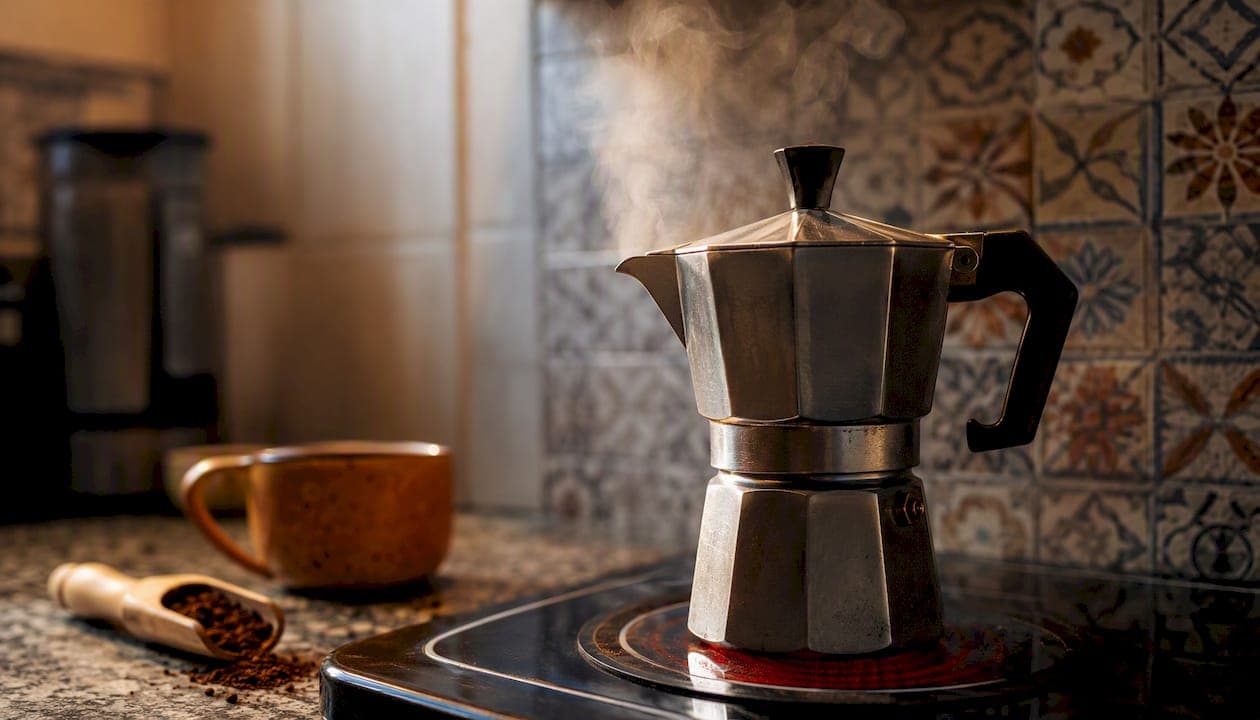
A steady medium-low heat brew with preheated water, a medium-fine grind, and a stop-before-sputter finish yields rich, balanced moka pot coffee every time. For a 3-cup pot, use freshly ground coffee at a fine-sand texture, fill the lower chamber just below the safety valve, set the burner to medium-low, and remove the pot the moment the stream turns pale or blond. Three things to do from your very first brew:
- Preheat your water to around 80–90°C before filling the chamber.
- Level the grounds in the basket without tamping them down.
- Pull the pot off the heat the instant you see a pale stream or hear the first deep gurgle.
Pro Tip: Cooling the base under cold running water for 10–15 seconds immediately after removing it from the heat stops residual extraction and prevents the bitter tail that ruins an otherwise good cup.
Table of Contents
- What equipment and ingredients do you actually need?
- What grind size and dose does a moka pot need?
- How do you brew with a moka pot, step by step?
- What visual and audible signals tell you when to stop?
- Why is your moka pot coffee bitter, weak, or sputtering?
- How do you clean and maintain a moka pot?
- Why does the technique actually work? The extraction science
- Key Takeaways
- The moka pot rewards patience with small experiments
- Go deeper into coffee science with Lyons Den Publishers
What equipment and ingredients do you actually need?
Getting the moka pot technique right starts before you touch the stove. The gear list is short, but each item earns its place.
Required:
- Moka pot — (stovetop): aluminum or stainless steel, in 1-, 2-, 3-, 6-, or 9-cup sizes. The "cup" is a small Italian espresso measure, roughly 30–40 ml, not a standard US mug.
Optional but useful: a heat diffuser for electric coils, a timer, and a digital thermometer.
Ingredients: Use freshly roasted, freshly ground beans. Coffee ground more than 30 minutes before brewing loses volatile aromatics quickly. Filtered water matters more than most brewers expect — hard tap water deposits scale inside the lower chamber and on the safety valve, affecting both flavor and function. For a deeper look at how water chemistry interacts with extraction, the guide on reverse osmosis water for coffee covers the key variables.
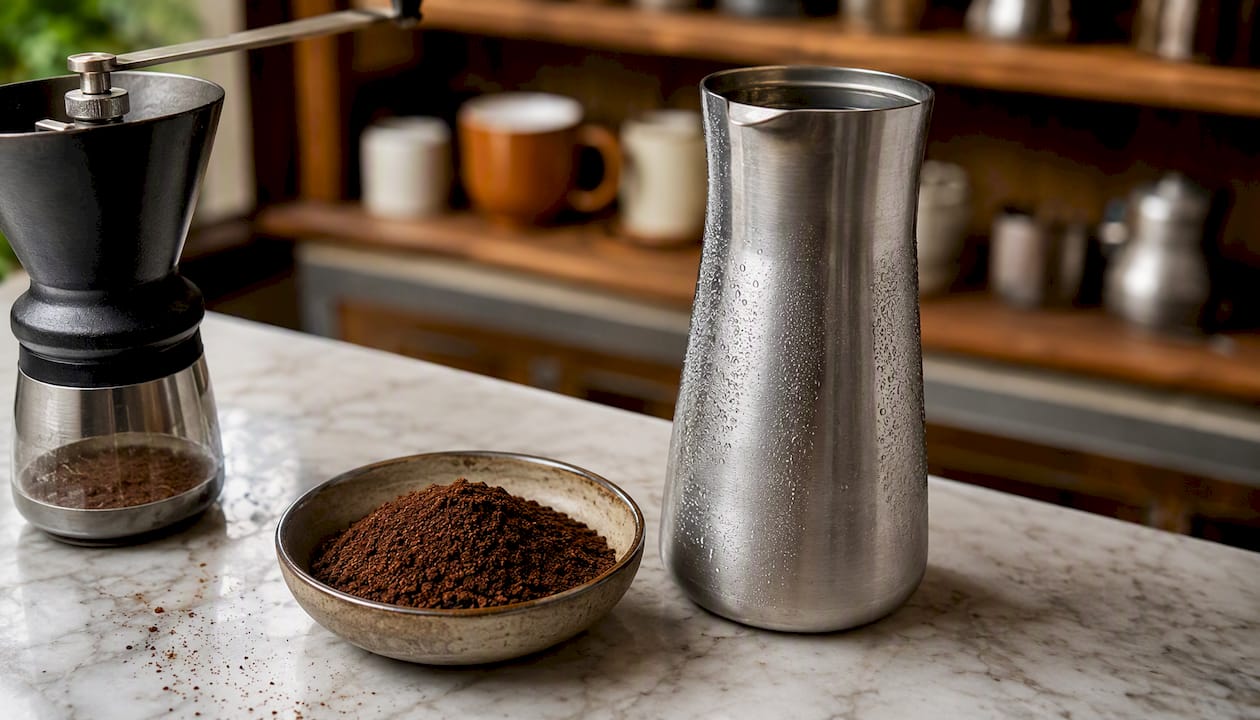
Moka pot anatomy: The lower chamber holds water and houses the safety valve, a spring-loaded pressure-relief mechanism that vents if pressure builds too high. The basket sits in the lower chamber and holds the coffee grounds. A rubber or silicone gasket seals the upper and lower chambers together. The filter plate sits above the basket and keeps grounds out of the upper chamber. Understanding these parts matters because a worn gasket causes leaks, a clogged filter plate causes sputtering, and an overfilled lower chamber puts the safety valve at risk.
Pro Tip: To test induction compatibility, hold a magnet to the base of the pot. If it sticks firmly, the pot will work on an induction cooktop. Stainless steel moka pots are almost always induction-compatible; most aluminum ones are not.
What grind size and dose does a moka pot need?
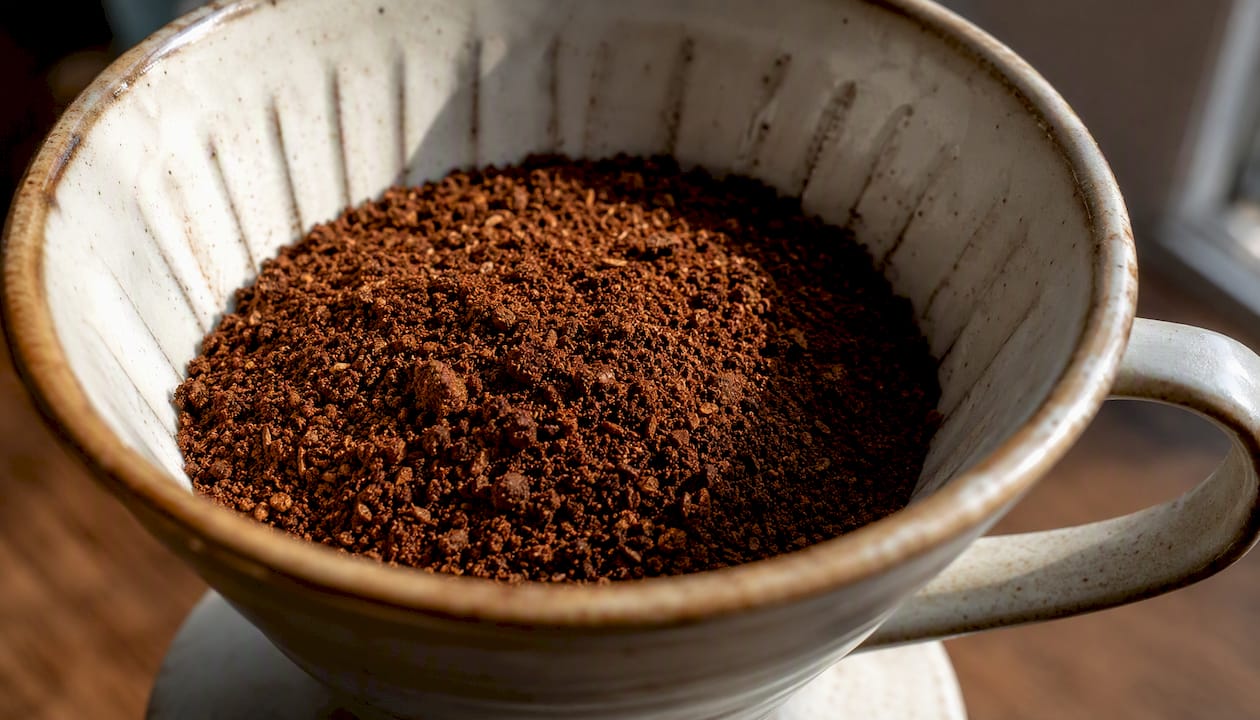
Grind size is the master variable in moka extraction. It controls how much resistance the pressurized water meets as it rises through the coffee bed, which directly determines extraction rate and flavor.
How do you brew with a moka pot, step by step?
Two methods work well: the hot-kettle approach and the traditional cold-fill method. Both produce good coffee; they differ in speed, heat exposure, and the flavor character of the finished cup.
Hot-kettle method (recommended)
- Boil water in a kettle, then let it cool briefly to roughly 80–90°C.
- Pour water into the lower chamber up to just below the safety valve.
- Insert the basket and fill it level with medium-fine grounds. Do not tamp.
- Wipe the rim of the lower chamber dry, then screw the upper chamber on firmly.
- Place on the burner over medium-low heat. Leave the lid open so you can watch the flow.
- Coffee will begin rising into the upper chamber within 3–4 minutes. Watch for a dark, steady stream.
- When the stream turns pale or blond, remove the pot from the heat immediately.
- Cool the base under cold running water for 10–15 seconds to stop extraction.
- Stir the coffee in the upper chamber with a small spoon to homogenize it, then pour.
Traditional cold-fill method
- Fill the lower chamber with cold, filtered water to just below the safety valve.
- Insert the basket, fill level with medium-fine grounds, and assemble as above.
- Place on medium-low heat. Total brew time will be 4–7 minutes.
- Watch and listen: a steady hiss signals active extraction; a deeper gurgle signals the end.
- Remove at the pale stream, cool the base, stir, and pour.
Method comparison
| Factor | Hot-kettle method | Cold-fill method |
|---|---|---|
| Total brew time | 3–4 minutes | 4–7 minutes |
| Heat exposure of grounds | Lower | Higher |
| Flavor character | Cleaner, slightly smoother | Bolder, more traditional |
| Effort | Requires kettle step | Simpler setup |
| Best for | Lighter roasts, nuanced beans | Medium to dark roasts |
Both methods benefit from a cold-stop finish; the hot-kettle approach simply reduces the window during which heat can damage the coffee bed. A brew that finishes in under 2 minutes almost always means the heat is too high and extraction is incomplete.
Safety note: Never fill water above the safety valve. Doing so blocks the valve and prevents it from venting excess pressure, which is a genuine hazard.
What visual and audible signals tell you when to stop?
Reading the brew as it happens is where the moka pot technique becomes intuitive. The pot communicates clearly if you watch and listen.
Visual signals, in order:
- A slow, dark, viscous stream rising into the upper chamber: active extraction, stay close.
- A steady, honey-colored flow: the heart of the extraction, the best flavor is here.
- A pale, blond, or watery stream: extraction is thinning out, stop now.
- Visible sputtering or bubbling at the spout: you have gone too far.
Audible signals:
- A soft, steady hiss or gurgle: normal, active extraction.
- A deeper, irregular gurgle or sputter: the water in the lower chamber is nearly exhausted and steam is pushing through. Remove the pot immediately.
Basket temperature during a typical moka brew reaches approximately 90–96°C, which is higher than most brewers expect. At that temperature, every extra second of heat exposure extracts more bitter compounds from the spent grounds. Stopping at the pale stream keeps the cup in the sweet extraction window.
Early sputtering (before much coffee has risen) usually points to a grind that is too fine or heat that is too high. Late sputtering after a full, steady flow is normal and simply signals the end of the brew.
Why is your moka pot coffee bitter, weak, or sputtering?
Most moka pot problems trace back to four variables: heat, grind, dose, and water level. Addressing them in that order resolves the majority of issues.
Symptom → cause → fix:
- Bitter coffee: grind too fine, heat too high, or brew ran into the sputter phase. Coarsen the grind, lower the heat, and stop earlier.
- Weak or sour coffee: grind too coarse, dose too low, or heat too low. Move grind one click finer, add 1–2 g of coffee, or increase heat slightly.
- Sputtering throughout the brew: excessive heat or excessive resistance from a fine grind or tamped grounds. Lower the heat and coarsen the grind. Never tamp the basket.
- Leaking from the seal: worn gasket or debris on the rim. Inspect and replace the gasket; clean the rim threads.
- Grounds in the cup: cracked or clogged filter plate. Rinse the filter plate after every brew; replace it if cracked.
- Brew stalls or barely flows: water level too low, grind too fine, or clogged filter. Check water fill, coarsen grind, and clean the filter plate.
Three things never to do:
- Never tamp the grounds. Tamping increases resistance, raises internal pressure, and causes sputtering and bitterness.
- Never fill water above the safety valve.
- Never use supermarket-labeled espresso grind in a moka pot. It is almost always too fine.
Pro Tip: Cleaning removes the mineral scale and coffee oil residue that clog the filter plate and safety valve, two of the most common causes of sputtering that have nothing to do with grind or heat.
How do you clean and maintain a moka pot?
Consistent results depend on a clean pot. Coffee oil residue and mineral scale accumulate faster than most brewers notice, and both affect flavor and function.
Daily routine:
- Disassemble the pot fully: unscrew the chambers, remove the basket, filter plate, and gasket.
- Rinse all parts under warm water. For aluminum pots, skip soap entirely — detergent strips the natural patina that develops over time and can leave a soapy taste. Stainless steel pots tolerate mild dish soap.
- Dry all parts before reassembling to prevent trapped moisture and metallic odors.
Periodic deep clean (every 4–6 weeks):
- Soak parts in a solution of baking soda and warm water for 20–30 minutes, or use a 1:3 white vinegar and water soak for mineral scale.
- Rinse thoroughly, then run one empty brew cycle with plain water to flush any residual cleaning taste before using the pot for coffee again.
Gasket and filter plate inspection:
- Inspect the gasket monthly. A gasket that has hardened, cracked, or lost its flexibility will leak and fail to build pressure. Replace it when it no longer seats firmly or shows visible cracking.
- Check the filter plate for clogged holes or hairline cracks. A clogged plate restricts flow and causes sputtering; a cracked plate lets grounds through.
Pro Tip: Store the pot with the chambers loosely assembled, not screwed tight. Leaving the gasket compressed between the chambers accelerates its wear and shortens its useful life.
Why does the technique actually work? The extraction science
The moka pot operates on steam-driven pressure of roughly 1–2 bars, generated as water in the sealed lower chamber heats past boiling. That pressure pushes hot water up through the coffee bed and into the upper chamber. This is fundamentally different from a pump espresso machine, which delivers 9 bars of pressure at a controlled temperature. The moka pot's lower pressure means it is far more sensitive to grind resistance and heat input than an espresso machine is.
The "sweet window" in moka extraction is the period when water temperature and flow rate are high enough to dissolve desirable sugars and acids but not yet high enough to over-extract bitter phenolic compounds. Grind size controls resistance, which controls flow rate. Heat controls temperature. Together, they determine how long the brew stays in that window. A medium-fine grind at medium-low heat keeps the flow steady and the temperature from spiking — which is why those two variables appear in every reliable moka pot guide.
Preheated water shortens the time the coffee bed spends on the heat before extraction begins. With cold water, the grounds sit in a warming chamber for several minutes before pressure builds, which pre-heats and slightly degrades the coffee before a single drop has risen. Starting with water at 80–90°C skips that phase almost entirely, which is why the hot-kettle method tends to produce a cleaner, less harsh cup across pot sizes and roast levels. For a deeper comparison of how pressure and temperature interact across brewing methods, the espresso brewing guide covers the pump-driven side of that equation.
Small grind adjustments produce measurable flavor shifts precisely because resistance changes are amplified by the moka pot's low operating pressure. One or two burr-grinder clicks can move a cup from bitter to balanced, or from sour to sweet, faster than the same adjustment would on an espresso machine.
Pro Tip: Home brewers who combine a medium-fine grind, preheated water, and an early stop consistently report the biggest single improvement in cup quality — more than any bean upgrade or equipment change.
Key Takeaways
A reliable moka pot brew requires medium-fine grind, preheated water, medium-low heat, and stopping at the pale stream before sputtering begins.
| Point | Details |
|---|---|
| Grind is the master variable | Target medium-fine (fine sand texture); one or two clicks coarser fixes most bitter cups. |
| Preheat your water | Starting with 80–90°C water reduces heat exposure of the grounds and produces a cleaner cup. |
| Stop before the sputter | Remove the pot at the pale/blond stream; cool the base for 10–15 seconds to halt extraction. |
| 3-cup dose reference | Use 15 g of coffee and roughly 100 ml of water, basket level and untamped. |
| Lyons Den Publishers | The Complete World of Coffee covers extraction science, grind theory, and brewing methods in full reference depth for readers who want to go further. |
The moka pot rewards patience with small experiments
The moka pot is one of the most forgiving brewing devices once you understand its logic, and one of the most punishing when you ignore it. The technique described here — preheat, medium-fine grind, medium-low heat, stop early — is not a rigid formula. It is a calibrated starting point. Once a brewer has a clean, balanced baseline cup, small deliberate changes become genuinely informative: one click coarser on the grinder, a slightly lower flame, a different origin or processing method. Each adjustment teaches something specific about how this device extracts.
What the technique does not reward is impatience. Rushing the heat to speed up the brew is the single most common mistake, and it produces the bitter, harsh result that gives the moka pot an undeserved reputation for poor coffee. Steady, controlled heat is not a minor detail — it is the variable that separates a good cup from a mediocre one more reliably than any other factor.
For brewers who want to understand the full science behind extraction, including how grind particle distribution, water chemistry, and roast development interact across every brewing method, The Complete World of Coffee provides that depth in a single reference.
Go deeper into coffee science with Lyons Den Publishers
The moka pot technique is one entry point into a much larger body of extraction science. The Complete World of Coffee, published by Lyons Den Publishers, covers the full arc from bean to cup: roast chemistry, grind theory, water composition, pressure dynamics, and sensory evaluation, all in one comprehensive reference.

For brewers who want to move beyond recipes and understand why each variable behaves the way it does, the Coffee Science Topics library at Lyons Den Publishers offers in-depth articles, guides, and educational resources on extraction, processing, and brewing methodology. Virtual and in-person education sessions are also available for home brewers, baristas, and café teams who want hands-on instruction tailored to their setup. Visit keithlyons.org to browse the full catalog and book a session.