
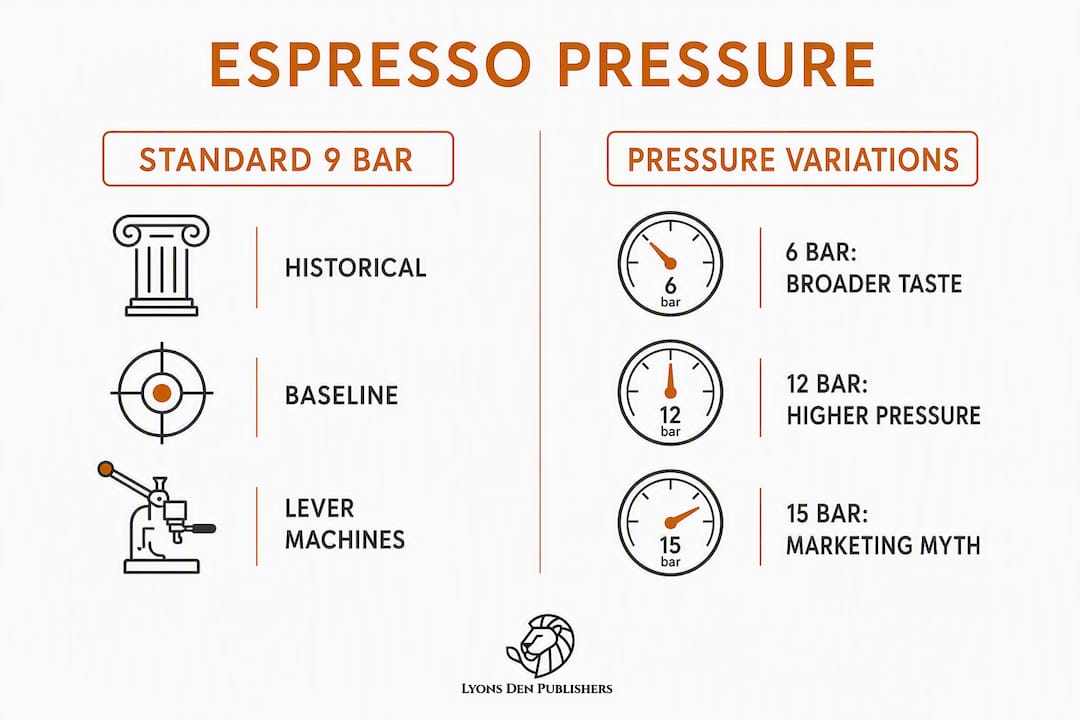
Nine-bar pressure is the conventional baseline for espresso extraction — reliable, historically grounded, and a sensible starting point. It is not, however, a scientific law, and treating it as one will limit what you can achieve in the cup.
The practical verdict: dial in your grind, dose, and temperature at 9 bar first. Once your baseline is consistent, a controlled low-pressure test at 6–7 bar can reveal whether your coffee responds with greater sweetness and clarity.
- What "9 bar" means at the machine: roughly 130 psi at the pump gauge, not necessarily at the puck. The Over-Pressure Valve (OPV) and machine plumbing determine what the coffee bed actually experiences.
- Pump specs are not brew pressure: a "15-bar pump" is a maximum rating. The OPV limits real brew pressure, and many consumer machines ship with OPV springs set above 9 bar.
- Lower pressure often improves light roasts: Climpson & Sons blind tastings found 6-bar shots rated sweeter and more balanced, with extraction percentages remaining in the accepted 18–22% range.
- Fix the fundamentals first: grind quality and consistency, dose accuracy, and brew temperature produce larger improvements than pressure adjustments for most home setups.
Table of Contents
- What "9 bar" actually means at your machine
- How pressure, flow rate, and extraction interact
- 9 bar versus 6, 12, and 15 bar: what the evidence shows
- What controlled experiments show about low pressure and profiling
- How to test pressure effects on your own machine
- What your machine can actually do: pumps, OPVs, and flow control
- The practical verdict for home baristas
- Key Takeaways
- Pressure in practice: what the evidence actually recommends
- Go deeper with Lyons Den Publishers
What "9 bar" actually means at your machine
One bar equals approximately one atmosphere of pressure at sea level, or roughly 14.5 psi. Nine bar therefore equals about 130 psi — the force used to push hot water through a compacted coffee puck in roughly 25–30 seconds.
That number, though, describes pump output, not puck pressure. The distinction matters more than most guides acknowledge.
The pressure path in an espresso machine runs: pump → OPV (Over-Pressure Valve) → group head → coffee puck → portafilter basket. Pressure losses occur at every junction. A gauge reading at the pump is always higher than what the puck actually experiences, and the gap varies by machine design, tubing length, and flow-control hardware.
The OPV is a spring-loaded valve that bleeds off excess pressure to protect the machine and regulate brew pressure. When a manufacturer advertises a "15-bar pump," that figure is the pump's maximum mechanical capability. The OPV clips that to a lower working pressure, ideally around 9 bar at the group head — though many consumer machines ship with OPV springs set above that target, meaning actual puck pressure can run higher than the spec implies.
The 9-bar convention itself has a telling origin. Lever machines from the mid-20th century naturally produced roughly 8–10 bar as the spring released. Pump-driven machines were later calibrated to replicate that familiar behavior, not because 9 bar had been scientifically validated as optimal, but because it produced results consistent with what baristas already knew. The standard was inherited, not derived.
How pressure, flow rate, and extraction interact
Pressure drives water through the coffee bed, but the relationship between pressure and extraction is not linear. Higher pressure increases the driving force, which tends to increase flow rate — up to a point. As pressure rises, it also compresses the puck, reducing its permeability and slowing flow. The two effects work against each other, and the balance between them depends on grind size, dose, and roast degree.
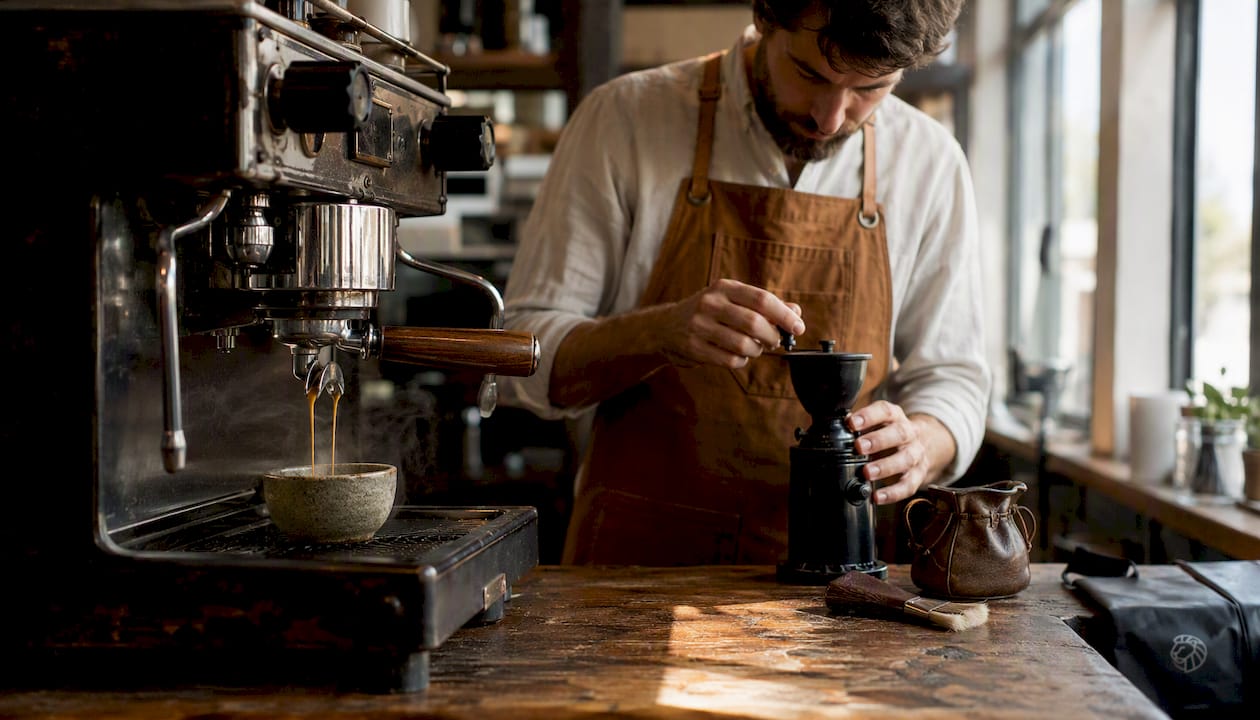
Flow rate observations from pressure-profiling practice suggest that optimal flow often occurs in the 7–9 bar range at the group head, after which bed compression can cause flow to plateau or decline. This is why grind and dose adjustments interact so directly with pressure changes: coarsen the grind and the bed compresses less, so the same pressure produces a faster shot.
Flavor follows extraction mechanics in predictable ways. High pressure during the initial wetting phase can cause channeling, where water finds a path of least resistance through the puck rather than saturating it evenly. Channeling produces uneven extraction — over-extracted in the channel, under-extracted everywhere else — which reads as simultaneous bitterness and sourness. Lower pressure during preinfusion reduces that risk by allowing the puck to saturate before full pressure is applied.
Variables worth tracking on every shot:
- Flow rate (ml/s), observed visually or with a scale and timer
- Shot time (first drip to end of pull, typically 25–35 seconds for a standard ratio)
- Yield (output weight in grams relative to dose)
- TDS or extraction yield if you have a refractometer, targeting 18–22% EY for most recipes
- Sensory notes: body, clarity, sweetness, bitterness, finish length
TDS and EY alone can mislead. Climpson & Sons found that extraction percentages stayed similar across pressure settings while sensory evaluations clearly favored lower pressure — a reminder that the numbers confirm consistency but do not capture the full picture of what ends up in the cup.
9 bar versus 6, 12, and 15 bar: what the evidence shows
The most persistent myth in espresso marketing is that higher pump pressure produces better espresso. It does not. Pump maximum ratings are engineering specs, not brew recommendations.

| Pressure band | Typical grind direction | Shot time tendency | Body and clarity | Crema | Common issues |
|---|---|---|---|---|---|
| 6–7 bar | Coarser than 9-bar baseline | Longer without grind adjustment | Lower body, higher clarity | Thinner, more persistent | Requires recipe recalibration |
| 8–9 bar | Standard baseline | Standard 25–35 seconds | Balanced body and clarity | Classic, thick | Channeling if distribution is poor |
| 10+ bar (at puck) | Finer to control flow | Shorter, faster | Heavier body, less clarity | Dense but can dissipate quickly | Bitterness, harsh finish, over-extraction |
A few common claims, addressed directly:
- "Is 15 bar better than 9 bar?" No. Fifteen bar is a pump maximum rating, not a brew pressure. The puck experiences pressure set by the OPV.
- "Is 12 bar too much?" Pressures above 9–10 bar at the coffee bed tend to over-compress the puck, increase channeling risk, and push extraction toward harsh, bitter compounds.
- "Is 9 bar a lot of pressure?" It is substantial pressure for espresso, balancing under-extraction and puck damage.
What controlled experiments show about low pressure and profiling
The evidence for lower peak pressure is more consistent than the marketing around 9 bar. Climpson & Sons conducted blind tastings comparing 9-bar and 6-bar extractions, finding that lower-pressure shots were rated sweeter and more balanced, particularly on light roasts. Extraction percentages remained within the 18–22% range across both conditions, which confirms that the flavor improvement was not simply a function of extracting more or less coffee.
A secondary finding from the same trials: 6 bar widened the parameter window. Shots tasted good across a broader range of grind settings and doses than at 9 bar, making the machine more forgiving to dial in.
Pressure profiling formalizes this into a three-phase model:
| Phase | Pressure range | Duration | Purpose |
|---|---|---|---|
| Preinfusion | 3–4 bar | 5–10 seconds | Saturate puck evenly, reduce channeling |
| Main extraction | Up to ~9 bar | 15–20 seconds | Primary flavor and body development |
| Declining tail | 6–7 bar, tapering | Final 10–15 seconds | Reduce harsh late-extraction compounds |
An extended "blooming" variation takes this further: 1–2 bar saturation for 10–30 seconds, followed by a lower peak pressure of 6–8 bar, with total shot times of 40–60 seconds. The result in documented trials is a clean, tea-like espresso with pronounced sweetness — well-suited to washed light roasts where clarity is the goal.
Preinfusion alone captures most of the consistency benefit of full profiling. A declining tail adds further clarity but requires hardware that can execute it reliably. For most home setups, adding a preinfusion stage is the highest-impact single change before committing to a full profiling machine.
Pro Tip: When running a low-pressure test, coarsen your grind by one or two steps from your 9-bar baseline. Lower pressure reduces flow resistance, so the same grind will run too fast and under-extract without adjustment.
How to test pressure effects on your own machine
Before changing any pressure setting, establish a clean baseline. Grind, dose, ratio, and temperature must be stable before pressure becomes a meaningful variable. Changing two things at once produces uninterpretable results.
Step-by-step test protocol:
- Baseline run at 9 bar. Record: dose (g), grind setting, yield (g), shot time (seconds), and sensory notes (sweetness, body, bitterness, finish). Pull three shots and average the results.
- Adjust pressure to 6–7 bar. If your machine has an accessible OPV, reduce it. If not, use a built-in pre-infusion setting at reduced pressure as a partial substitute.
- Coarsen the grind by one or two increments to compensate for reduced flow resistance. Keep dose and yield identical to the baseline.
- Pull three shots at the new setting. Record the same metrics.
- Compare blind if possible. Have someone else label the cups and taste without knowing which is which.
Troubleshooting checklist for common pressure-related faults:
- Channeling (uneven flow, spurting): improve distribution with a WDT (Weiss Distribution Technique) tool; check that your tamp is level; consider adding preinfusion.
- Thin or absent crema: check OPV setting (may be too low); verify coffee freshness; try a slightly finer grind.
- Bitterness with fast flow: OPV may be set too high; grind finer; reduce brew temperature slightly.
- Sourness with slow flow: grind coarser; check for puck over-compression; verify dose weight.
For sour espresso specifically, the cause is almost always under-extraction — and pressure is rarely the primary culprit. Fix grind and temperature first.
Pro Tip: Track results in a simple spreadsheet with columns for date, dose, grind setting, yield, time, pressure, and a 1–5 score for sweetness, body, and bitterness. After ten shots, patterns become obvious in a way that memory alone cannot reveal.
What your machine can actually do: pumps, OPVs, and flow control
Pressure control requires one of three things: an adjustable OPV, a rotary pump with stable regulation, or built-in electronic profiling or flow-control hardware. Without at least one of these, you are working with whatever pressure the manufacturer set at the factory.
Pump types and what they mean for pressure stability:
- Vibratory pumps are the standard in consumer machines. They are inexpensive and compact but produce pressure in pulses, which creates minor flow variation. They are adequate for 9-bar extraction and basic preinfusion but less suited to smooth profiling curves.
- Rotary pumps deliver steady, consistent pressure and are standard on commercial equipment. They are quieter, more durable, and easier to regulate precisely. Some prosumer home machines use rotary pumps for this reason.
A manometer (pressure gauge) at the group head tells you what pressure the puck actually sees, as opposed to what the pump is rated for. Many consumer machines lack one, which means you are working from pump specs and OPV settings rather than direct measurement. A group-head gauge or a portafilter-mounted gauge is the most reliable way to verify true brew pressure.
Features that make pressure experimentation practical at home:
- Accessible OPV with a documented adjustment range
- Built-in preinfusion (even a timed, fixed-pressure version helps)
- Flow paddle or needle valve for manual flow control during the shot
- Stable rotary pump for smooth, consistent delivery
- Manometer at the group head or an accessible gauge port
If your machine lacks these features, the most productive path is usually improving your espresso brewing technique and grinder quality before investing in hardware modifications. A better grinder consistently produces larger flavor improvements than an OPV adjustment on a machine with an inconsistent burr set.
The practical verdict for home baristas
Nine bar is an excellent baseline. It is not sacred. The standard emerged from lever-machine geometry and manufacturing convention, not from a controlled optimization study, and the evidence from blind tastings and profiling experiments consistently shows that lower peak pressures or profiling can improve sweetness and clarity — particularly on light roasts — without sacrificing extraction yield.
Recommended next steps:
- Master grind, dose, ratio, and temperature at 9 bar before touching pressure. These variables produce the largest gains for most home setups.
- Run one controlled low-pressure test at 6–7 bar with a coarser grind and identical dose and yield. Taste the result blind.
- Keep a simple log. Objective comparison across sessions is the only reliable way to know whether a change actually improved the cup.
The coffee extraction fundamentals that govern pressure also govern every other brewing variable. Understanding them makes every adjustment more deliberate and every result more repeatable.
Key Takeaways
Nine-bar pressure is a historically inherited convention, not a scientifically derived optimum, and lower peak pressures or profiling often produce sweeter, clearer espresso without reducing extraction yield.
| Point | Details |
|---|---|
| 9 bar is a baseline, not a law | The standard came from lever-machine geometry; it is a reliable starting point, not an absolute optimum. |
| Pump specs mislead | A "15-bar pump" is a maximum rating; actual brew pressure is set by the OPV and may differ significantly from the advertised figure. |
| Lower pressure improves light roasts | Blind tastings at 6 bar produced sweeter, more balanced results while extraction percentages stayed within 18–22%. |
| Fix fundamentals before pressure | Grind quality, dose accuracy, and temperature produce larger improvements than pressure adjustments for most home setups. |
| Lyons Den Publishers | The Complete World of Coffee covers extraction science, profiling, and sensory evaluation in structured depth for readers who want to go further. |
Pressure in practice: what the evidence actually recommends
The conventional wisdom around 9 bar deserves more scrutiny than it typically receives. The number is treated as a technical specification when it is, in fact, a historical artifact. Lever machines produced roughly 8–10 bar because of spring geometry, and pump machines were calibrated to match. That is the entire scientific basis for the standard.
What the evidence actually shows is more interesting. Lower peak pressures, particularly in the 6–7 bar range, tend to produce espresso with greater sweetness and clarity, especially from light-roasted, washed coffees where delicate aromatics are the point. The extraction percentages do not change dramatically. The flavor does. That gap between measurable yield and perceived quality is where pressure's real influence lives.
The practical implication is not to abandon 9 bar but to treat it as a starting position rather than a destination. Dial your fundamentals there. Once the shot is consistent, a single low-pressure test with a coarser grind will tell you more about your coffee and your machine than any amount of forum reading. The result may surprise you, and it will almost certainly be instructive.
Obsessing over pressure before mastering grind and dose is the most common mistake in home espresso. A mediocre grinder at 9 bar will always underperform a quality grinder at any pressure. Get the fundamentals right first, then use pressure as the refinement tool it actually is.
Go deeper with Lyons Den Publishers
For home baristas who want to move beyond trial and error, The Complete World of Coffee by Keith Lyons covers espresso extraction science, pressure profiling, sensory evaluation, and practical brewing protocols in structured, evidence-based depth. The coffee science resources at Lyons Den Publishers bring together the history, physics, and hands-on technique behind every variable in the cup, from grind particle distribution to brew temperature to the pressure dynamics covered in this article. Whether you are working through your first dial-in or refining a profiling workflow, the structured learning available there will accelerate your understanding in ways that scattered forum posts rarely do. Visit Lyons Den Publishers to explore the full range of books, guides, and educational sessions available to home baristas and coffee professionals.